Showing posts with label DIY. Show all posts

Monday, September 12, 2011

Sea Foam Green

That’s the color I wanted when I walked into Lowe’s (with a confidence I’ve never had). I walked right up to the paint swatches. Studied them for 3 seconds. Grabbed one. And it was a perfect match for the $4 shower curtain I had just purchased across the street at Ross. Yes ladies and gents, the bathroom got a makeover. And it was a cheap one that ended up looking mighty fine if I do say so myself. Which is comical because the only credit I can really take for the whole thing is picking out the paint, shower curtain, and floor mat and helping my dad hang the lights and ceiling vent back up after all the REAL work was finished. Be amazed. Aka don’t take this too seriously. It looks more blue than green. And it’s definitely more green. Very serene. Very spa like. Very clean.

BEFORE

There used to be a border around the top of the wall that matched the shower curtain but that had already come down before I thought to take a picture. We loved this bathroom. One afternoon after Sarah had been born, Kay and I came home from school and bounded into the house to find that we weren’t allowed upstairs. Dad had taken a half day at work and he and Mom re-did the whole thing for us. We were shocked. We loved it. But after about 10 years it was looking pretty gross.

DURING

He conquered this bathroom in an hour. And was whistling.
It was a home-improvement first in our household.
But it was preceded by dropping screws down the sink and having to take all our girl crap out from under the sink to take about the pipes under the sink to get the screws back. So definitely not the smoothest project ever, but all in all, I’d say it was a success :)

AFTER: THE REVEAL

Oh we got a new toilet seat too… It’s nice to sit down and not slide all over the place :)
My dad and I make a pretty good team…

I think she cleaned up nicely… and she’ll serve her new purpose wonderfully.  The best part about this project was that it was super cheap, but turned out looking nicer than it did before. What do you think? Do you like the new bathroom better or the old?

Friday, August 19, 2011

#5

On the End-of-Summer Bucket List:
Tie Dye T-Shirts

CHECK!

Two weeks ago I babysat for a friend. It was quite a party with my sister, her two kids, their dog, and me! We went to Wal-Mart to get supplies, tie-dyed our little hearts out, ordered a pizza for lunch, and then bummed it on the couch watching Newsies until we were ready for ice cream :) I love these kids.  I love their dog. I love their Mom!

What I DON’T love are all the pictures the girls took of “us” actually doing our shirts. All you see are my hands, my legs, and the shirt – it’s like no one else was even there… But they’re 10 and 11 and I guess I wasn’t too clear when I asked them to take pictures…

Anyways – here’s us tie-dyeing our shirts!!
And aren’t my green thumbs nice?? Yeah those gloves didn’t work so well…


And here’s the finished project…. I babysat the kids again today and we all decided we’d wear our shirts for the day and wow the community fabulous matchy-matchyness…

My shirt and J’s turned out the best, Sarah and A’s could have used a bit more dye… but they look great!! We visited Kayla today at work and she told me her co-workers asked if we usually coordinate our outfits… Why yes, yes we do :) I’m glad I can cross another thing off my summer bucket list and that I can now say I’ve tie-dyed!!

Happy Friday! Hope you have a great weekend!

Saturday, April 2, 2011

Bridal Shower Invitations!!

When my mom and I first got together to talk about the invitations we looked online for a template or idea that we liked, but nothing really seemed to stand out. So we figured we’d create our own. I had the idea of making the base sheet long and folding it at the bottom to make a pocket in the back. We knew we’d have some additional inserts in the invitation and the pocket would hold them perfectly. We also just got a book of scrapbooking paper at A.C.Moore and then a bunch of matching solids. So not every invitation is the same. There are probably about 30 different invitations. My mom made all of these – so I take ZERO credit. But here’s the finished product:

Shower Invitations 405 Shower Invitations 406 Shower Invitations 407 Shower Invitations 408

This is the pocket. We had a 3x5 card for the guests to bring their favorite recipe, the registry info card from Bed, Bath & Beyond and Macy’s, and a little directions/map sheet. It all fit perfectly in the pocket! And the best part is when people hang it on their fridge everything will stay together and they won’t lose certain pieces. When they want to go shopping they’ll know right where to go to find the info! 

Shower Invitations 409Shower Invitations 419  Shower Invitations 420
^^These are the actual wedding colors. Navy and White. The accent color for the wedding will be a springy-sage green. But my mom loves these navy ones the best :)

I think they turned out really really well! And I hope Kay likes them when she show her after the shower! It’s a surprise! Hope we don’t spoil it!!

Monday, March 28, 2011

What a HOOT!!

Today I stopped at the thrift store by my church because I had a meeting after work. I was on my way out but this guy caught my eye.

Owls have become really popular over the past year or so and I love them. My Nana used to collect owls when my mom was a kid but they’re all gone now :(

Every time I see Owl jewelry my shopping buddy or my Jiminy Cricket reminds me that I already have enough… But I recently started keeping my eyes open for Owl Decor. My bedroom is small, but I’ll either cram it in, save it all for my someday apartment, or possibly sell it. Who knows?? I’ve  also been inspired by Three Men and a Lady and Busy Bee Lauren. I love Michelle’s idea of making it into a lamp and I love the pillow that Lauren has on her couch. They’re both so creative!!

Here are some of the other owls in my life…

Lenox Owl – was in my parent’s curio cabinet. The whole thing is ignored and neglected because they think it’s ugly…. mom had no problem when I asked for the owl :)


And the necklace and earrings are both from Charlotte Russe… I never realized the necklace was missing a chain on the right until I uploaded these pictures!! HAH! Oh well… A missing chain is less noticeable than having your shirt on backwards (Yep. That happened. Last week. Didn’t realize until I had an hour of work left).
           

I can’t wait to paint my new owl! I want to find out if I’d be able to make it into a lamp… I don’t know if the ceramic would crack…. whether a lamp or a cool decorative piece – I’m happy!!

And also – Harry Potter made owls cool, among lots of other things :) 

hp1_l

Monday, March 7, 2011

DIY: Dorm Collage Art

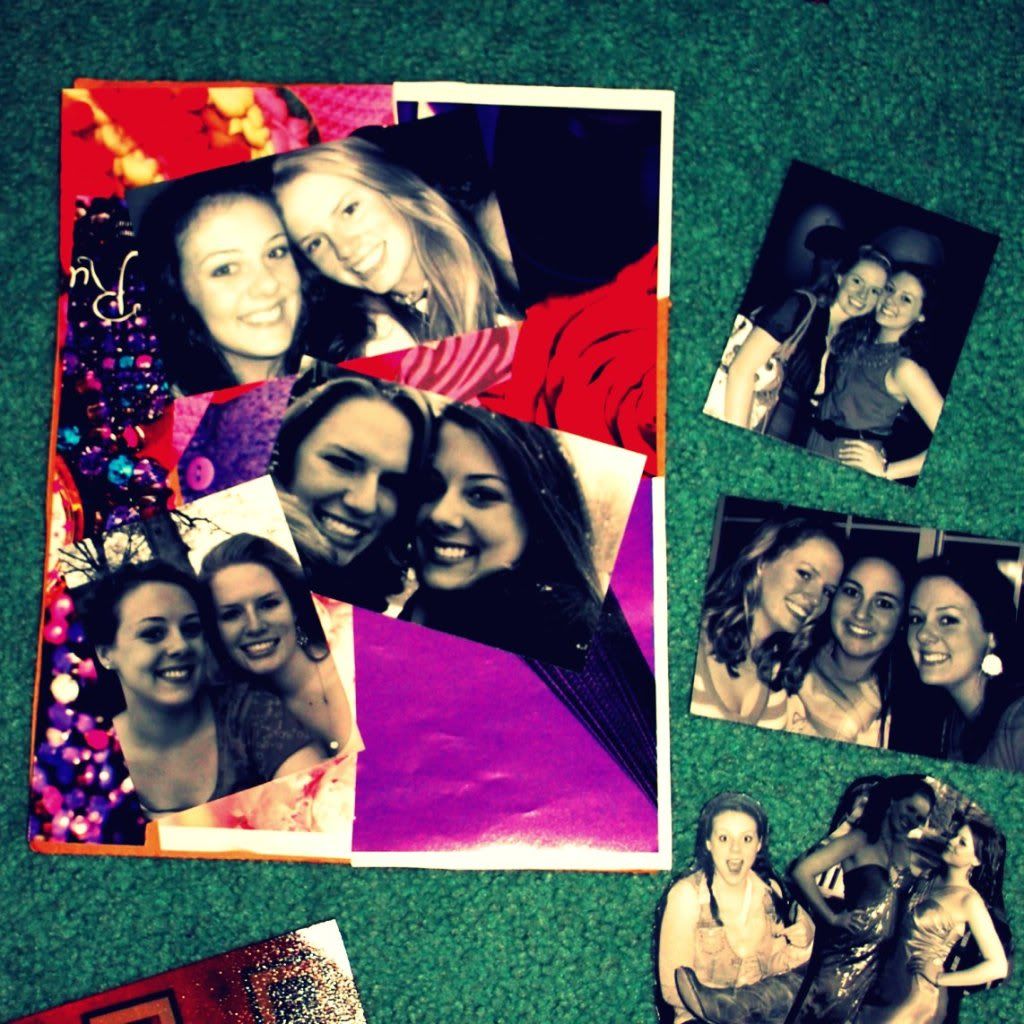
A few summers ago, my older sister Kayla and her best friend from high school, Melanie, were both single and bored. They hung out every weekend, got Rita's, sat around my house flipping through magazines, etc. And one day on a Wal-Mart trip they picked up cheap, basic, glass frames with the intention of cutting snippets out of the magazines they had been paging through and making collages... It was like scrapbooking a large sheet of paper and then hanging it on the wall...

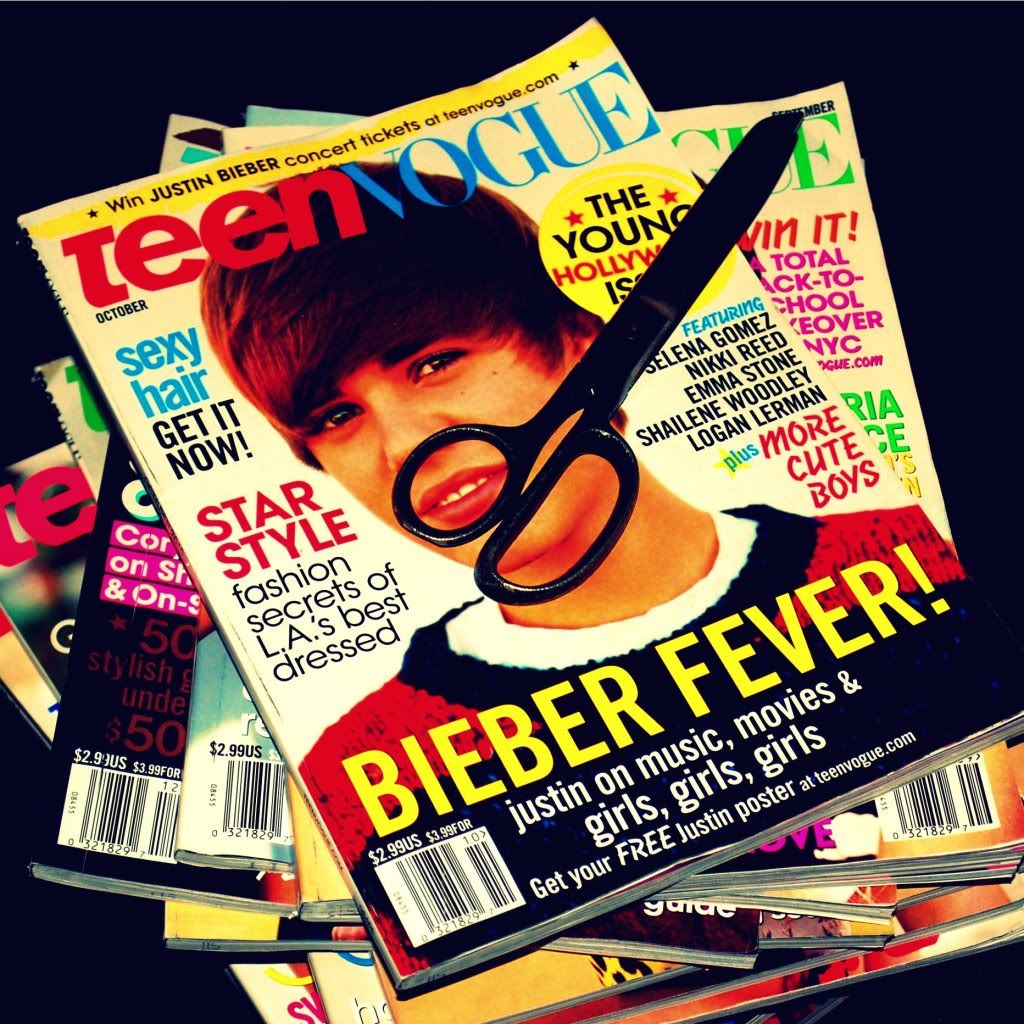
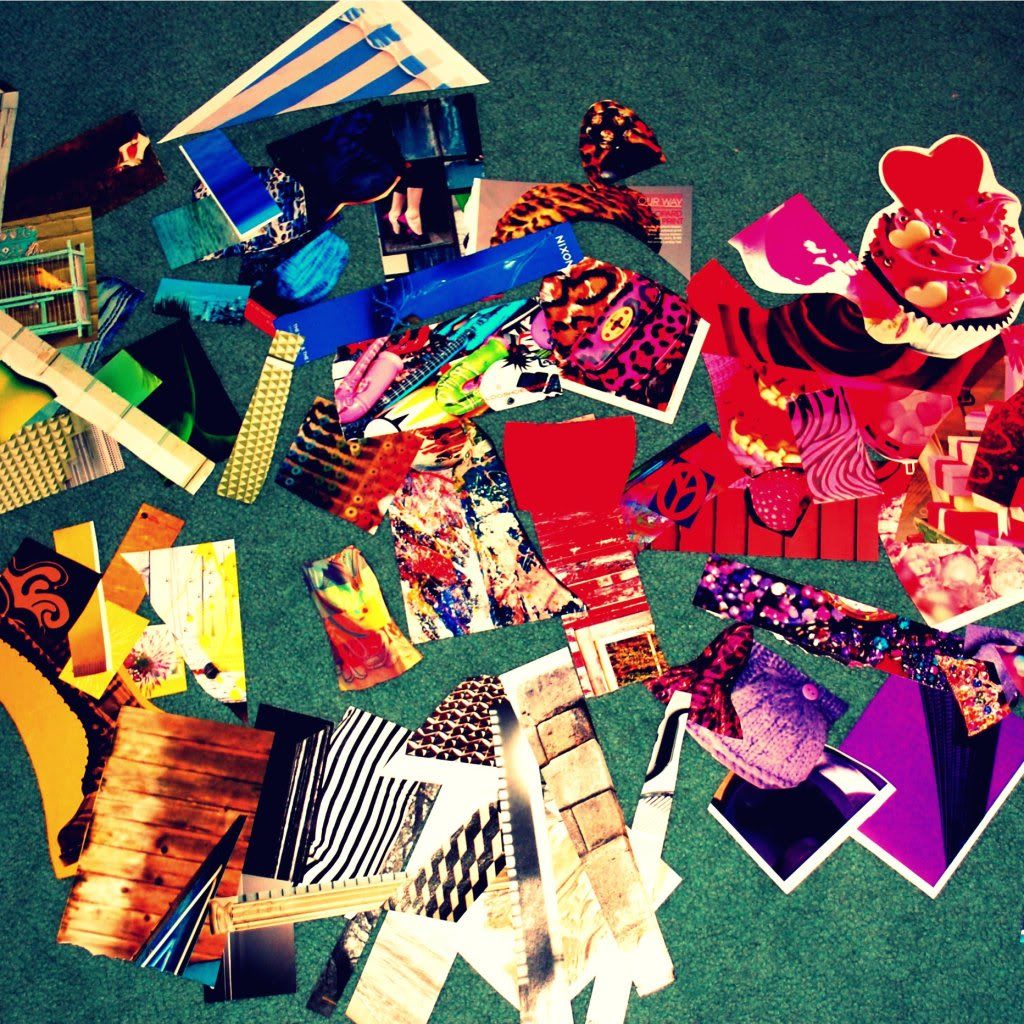
Well, I loved the idea and decided to do it myself - only mine were a little different. I didn't cut out images of flowers or letters. Instead, I cut out the edges of the advertisements from my Teen Vogue's- so I had a ton of little scraps of color. I made one that summer with Kay and Mel, and then two this past summer to hang in my dorm room. Dorm rooms are so blah, white, stark, and boring - so you bring in your colorful towels, colorful bedding, hang up pictures and posters, etc. But I love the way that these collages bring color to the room in addition to displaying favorite photos. They are like instant wall art... Here's the process:

Step #1: Cut out images, advertisements, letters, etc. from old magazines


Step #2: Lay out all of your clippings and arrange them. I usually lay them out by color and then can see how many I have in each color family...


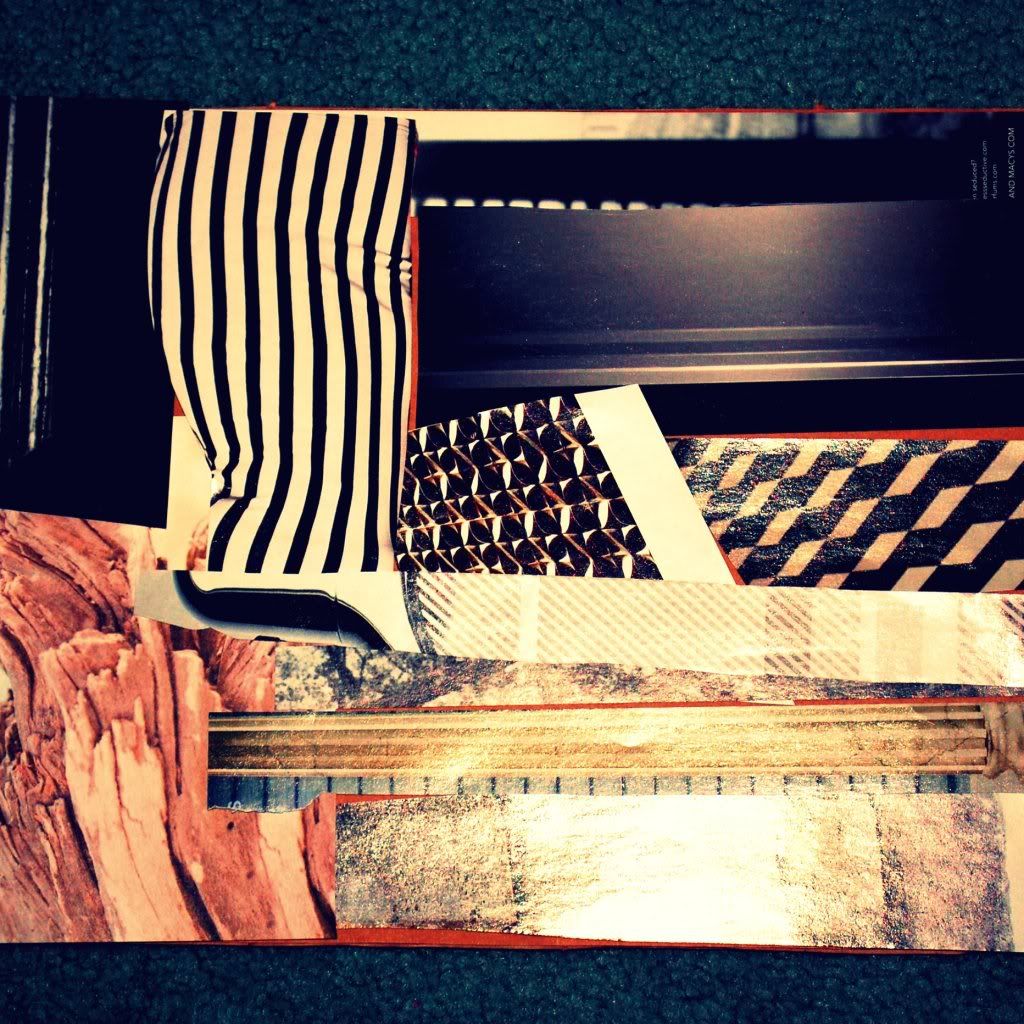
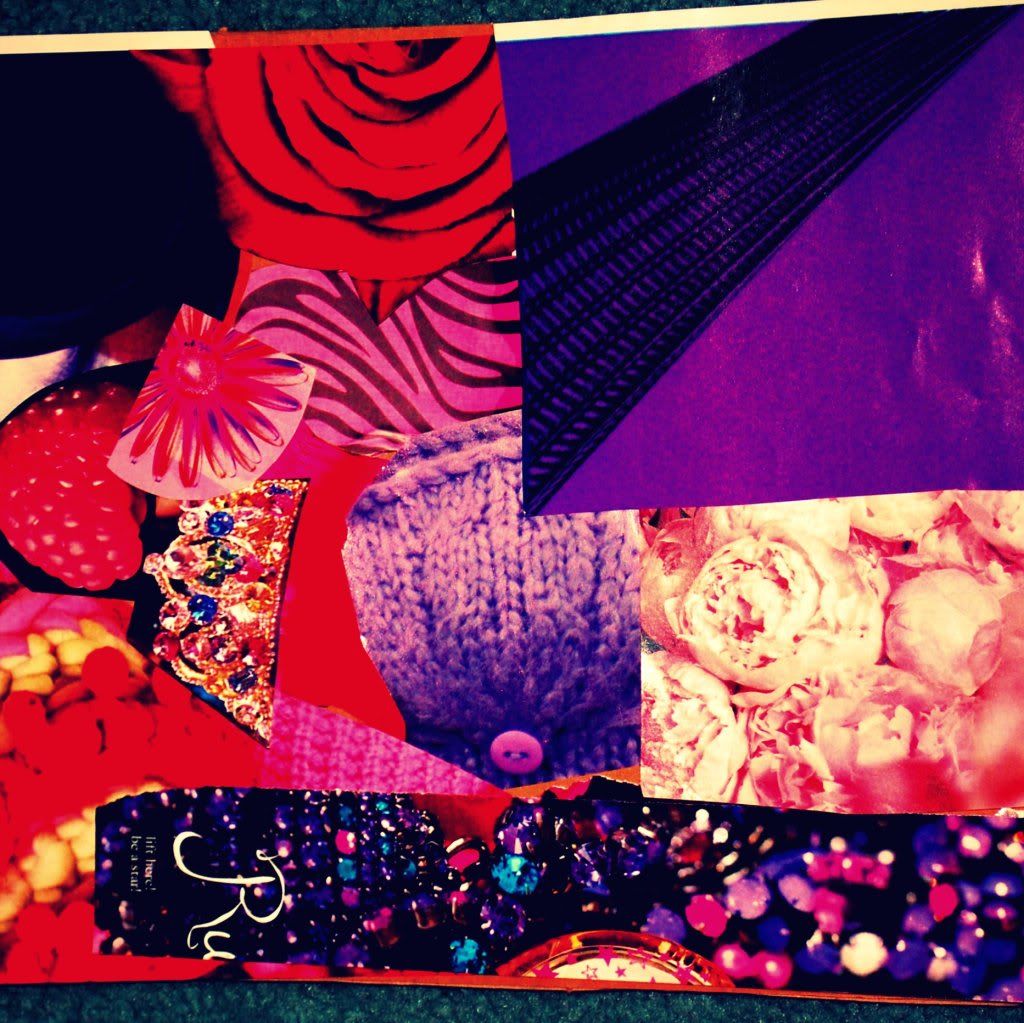
Step #3: Choose clippings, arrange them on the template of the frame. The frames I got from Wal-Mart came with a sheet inside that had the dimensions on them and the company's name - I arranged everything on top of that and then glued it right on...


 Step #4: Choose pictures, arrange them on top of the collage, and back them with paper if you'd like


Step #5: Once everything is intact, put the frame back together and WA-LAH! Instant photo collage/ wall art!! This is super cheap (I think the frames are between $5-$10), is really fun, and is GREEN in a way - you're re-using your old magazines :)

Here are two of mine...


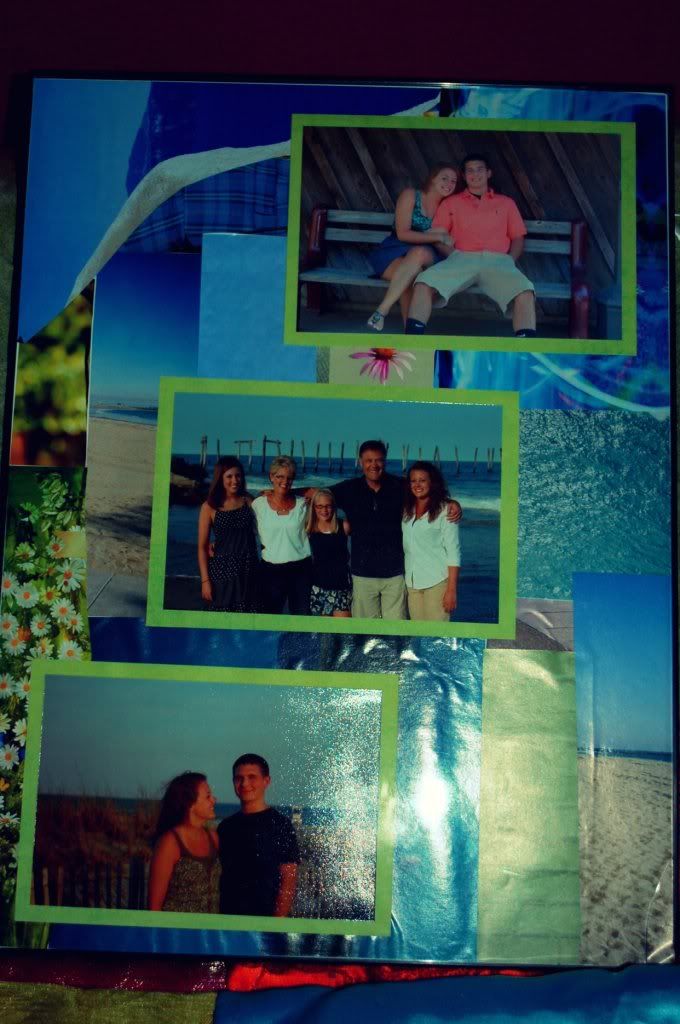
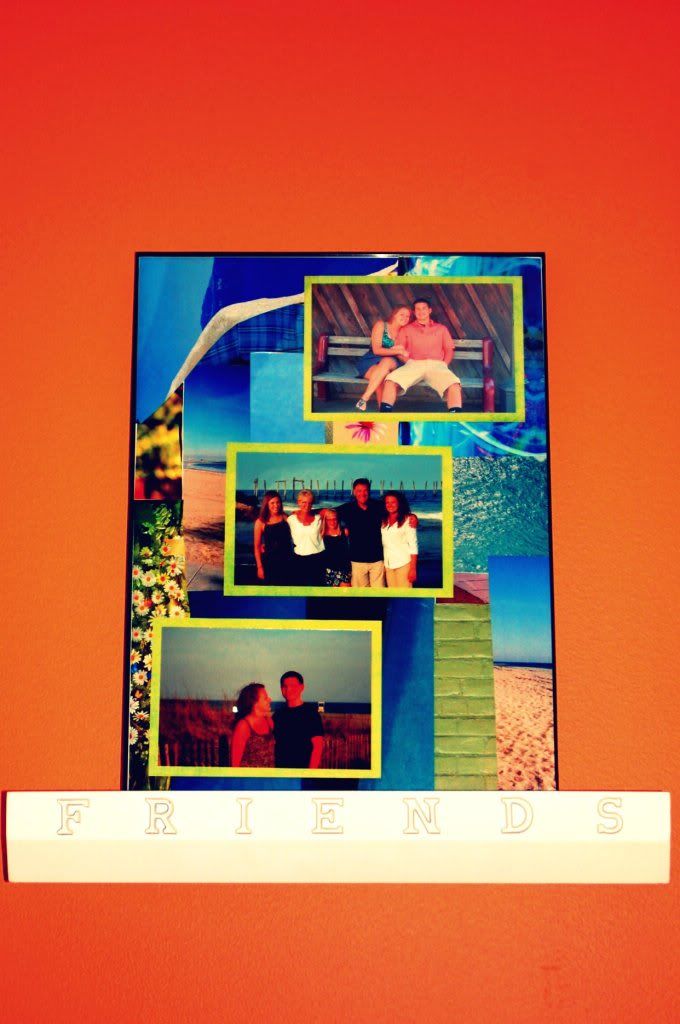
I used all blue, green, and tan snippets for this one... I got a lot of beach clippings from summer magazine advertisements... And this collage is all pictures from OCNJ and a weekend away in the Catskill Mountains of New York from last summer.

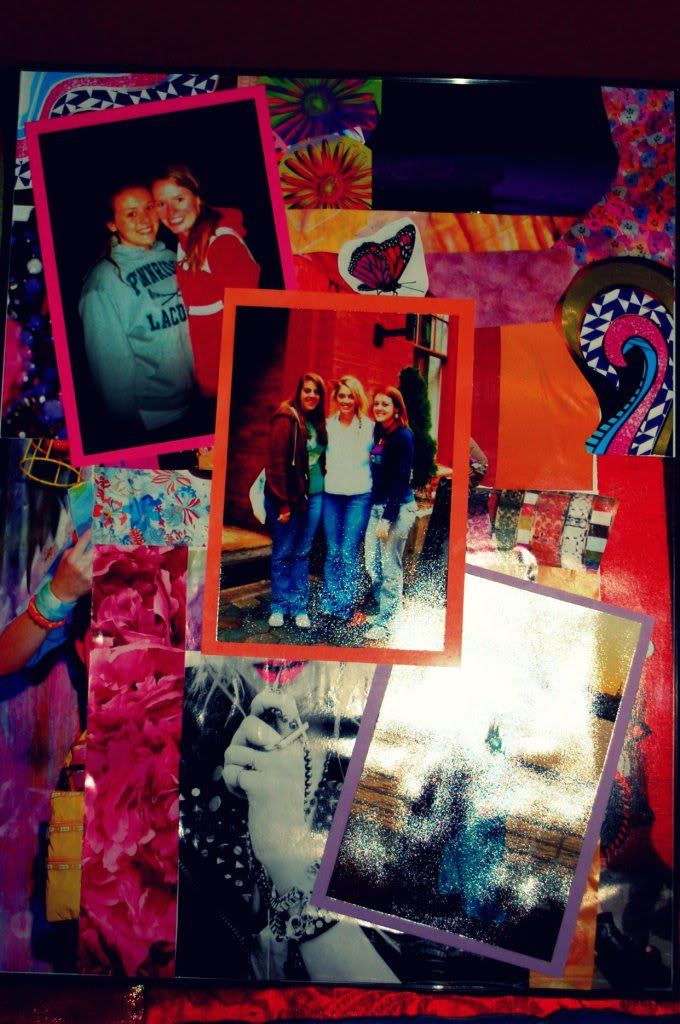
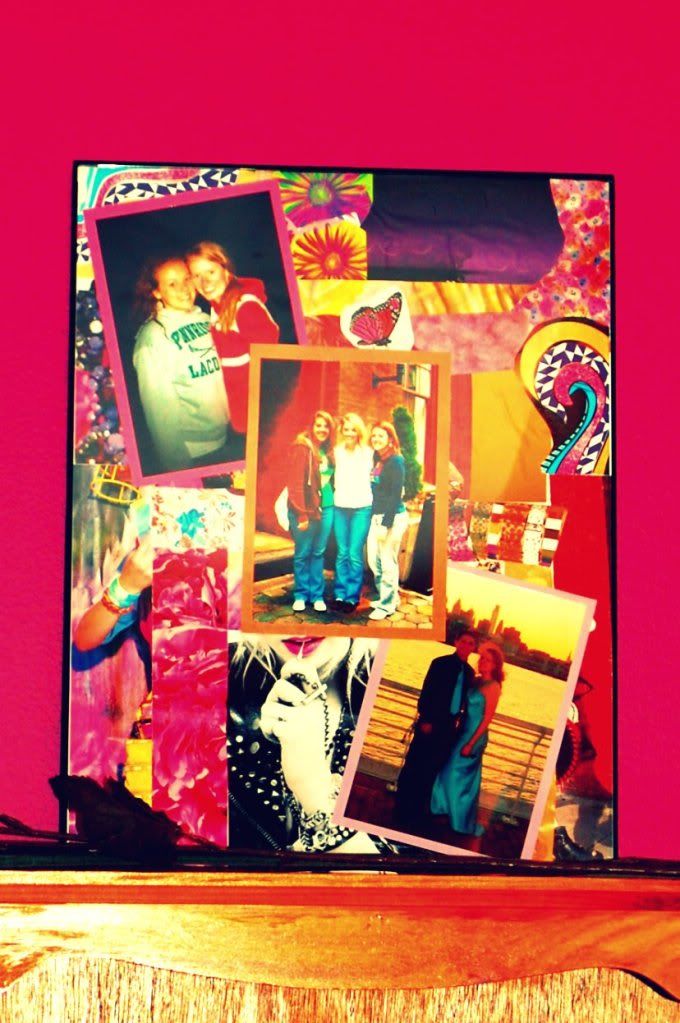
This collage has a lot of clippings from the pink, purple, red, orange side of the color wheel. I also backed these three pictures in different colored paper to help them jump off of the collage. This one contains three pictures from Freshman Year... A girls weekend at the Delaware shore, a trip to Lancaster to stay with my one roommate Rachel, and a shot of Mark and I at the Camden Aquarium where our school had our Spring Formal...


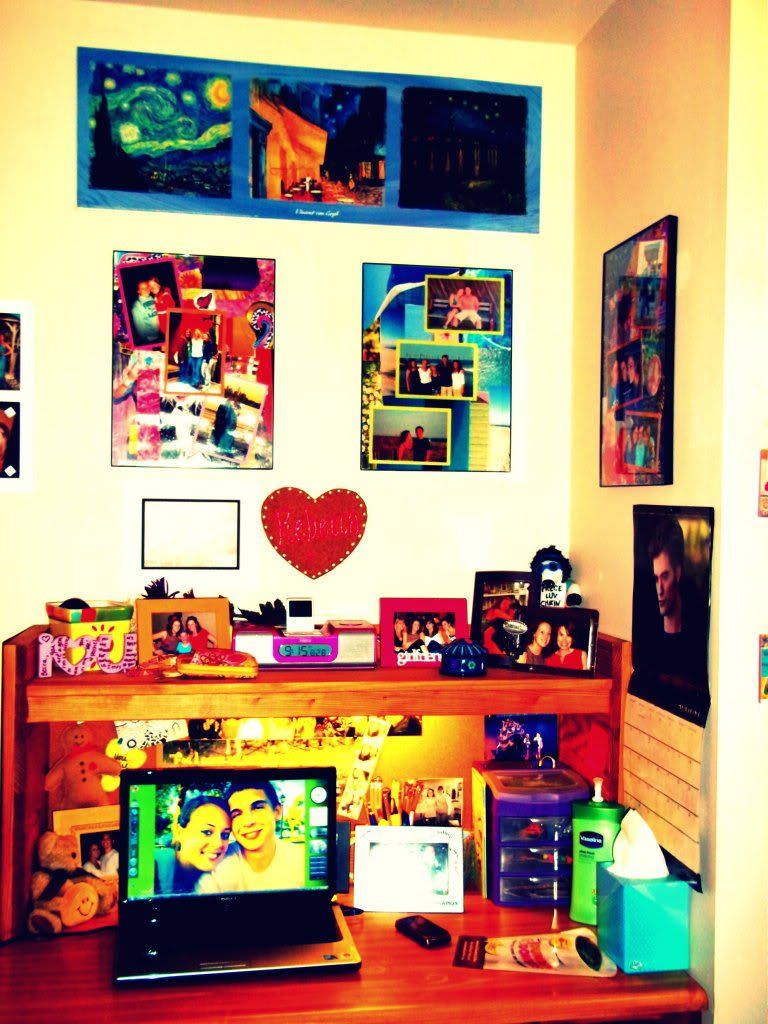
And here is my desk at school... quite clean because I had just moved in and organized all my stuff... but believe me - it didn't always look like this :) The first collage I made is hanging on the wall to the right of my desk - I got better the second time around and so that one is on a shelf in my closet right now...

I hope you enjoyed... please send me pictures if you make collages!! I would love to see how you take the idea and run with it!!

-R